

In the various plan views of vPlan you can easily decide for yourself what you want to show on your plan or not by means of filters. Would you like to quickly see all the cards with a certain label? Or do you want to hide rounded cards? Do you want to decide for yourself which period you want to see in the calendar? You can do all this using our filters.
With filters it is possible to show relevant tickets in a quick and easy way. It is also very handy when you have a large amount of tickets, because nobody likes to scroll.
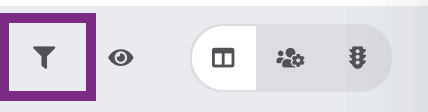
You can add a filter by clicking on the filter icon at the top right of the calendar view:
When you click on the filter, a menu appears with the options on which you can filter. You can filter on multiple data from one or more columns.
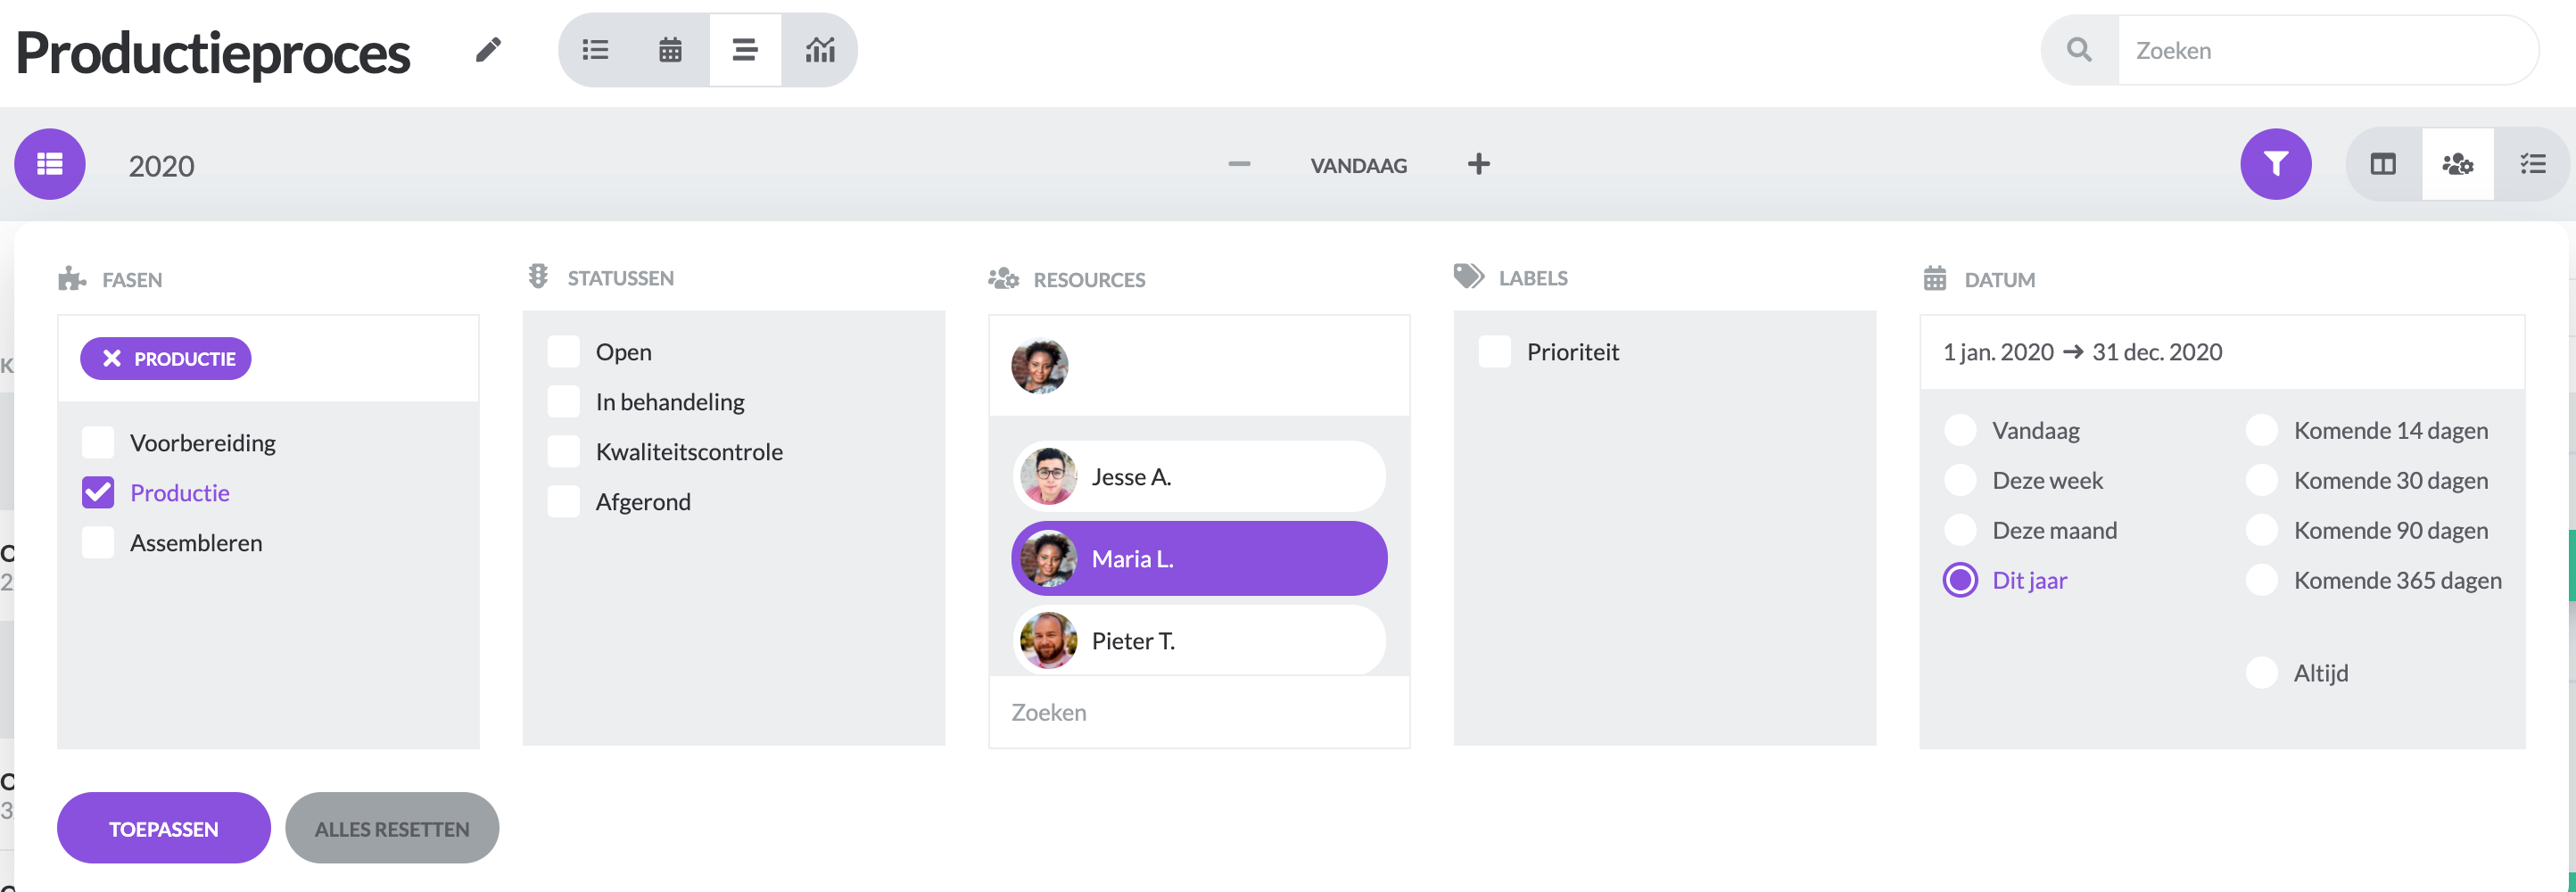
Only the data you choose in your filter will be visible in your calendar view. This way you only see the data you want to see.
You can filter on the following data:
- Stages
- Statuses
- Resources
- Labels
- Date
Stages
When you select one or more stages, only the plan cards that are planned for the selected stages are shown in the calendar view. Stages that you have not selected in your filter will no longer be shown.
Statuses
When you select one or more statuses in the filter, the calendar view will only show the plan cards that match your chosen status. Tickets with other statuses are no longer shown.
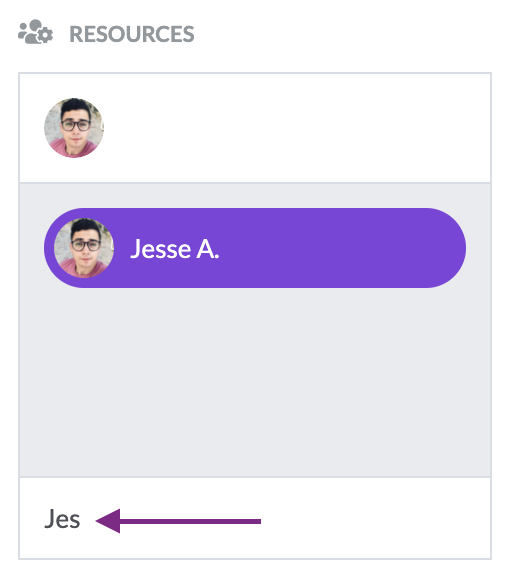
Resources
When you select one or more resources in the filter, the calendar view will only show the plan cards assigned to the resources you have selected. Resources other than those selected will no longer be shown.
Labels
When you select one or more labels in the filter, the calendar view will only show the cards in which your selected labels are enabled. Tickets that do not contain your selected labels will no longer be shown.
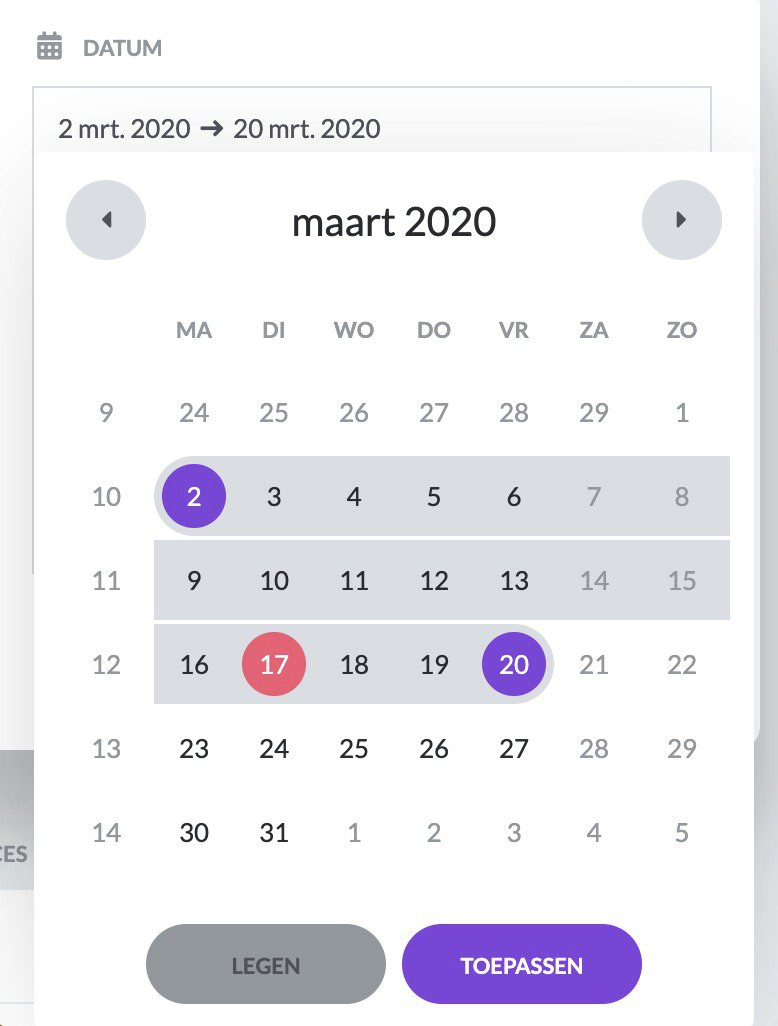
Date
When you select a date or period in the filter, the calendar view will only show the plan cards that are or were planned for that date or period.
vPlan tip: When you open the calendar at ''Date'', you can filter the list view for a specific period of your choice. This is done by clicking on a date as the starting point and then clicking on another date in the future. A grey bar will appear over the selected period.
If you click on 'Apply' you will see all the planners within the period of your choice.
Once you have made your selection and applied your specific filter, only the cards that match your settings will be shown.
Click ''Apply'' to see your result in the list view.
You can see that the filter icon has changed. There is a red dot with a number. This indicates that a filter with 7 selected settings is active:

The set filter will be saved until you adjust or reset the filter yourself. To reset a filter, click on the filter button and then click ''Reset all''.
Tip: You can further limit or expand the information you see in the calendar. You do this with the Eye icon (show or hide information)