A plan board is the place to plan and follow your work. You can set up the board according to your process.
 Create the plan board
First, create a planning board. Under Configuration, you will find the Plan Board section.
Click on the button Add Board in the upper right corner.
![]()
Give the plan board a name (e.g. the name of your company or product). Click on Save at the bottom to create the plan board. The layout of the board consists of four parts: Configuration, Stages, Status, Capacity and Automation.
 Create stages
In the stages tab, you can set up your company's production process. Simply add a stage by clicking on the Add Stage button.
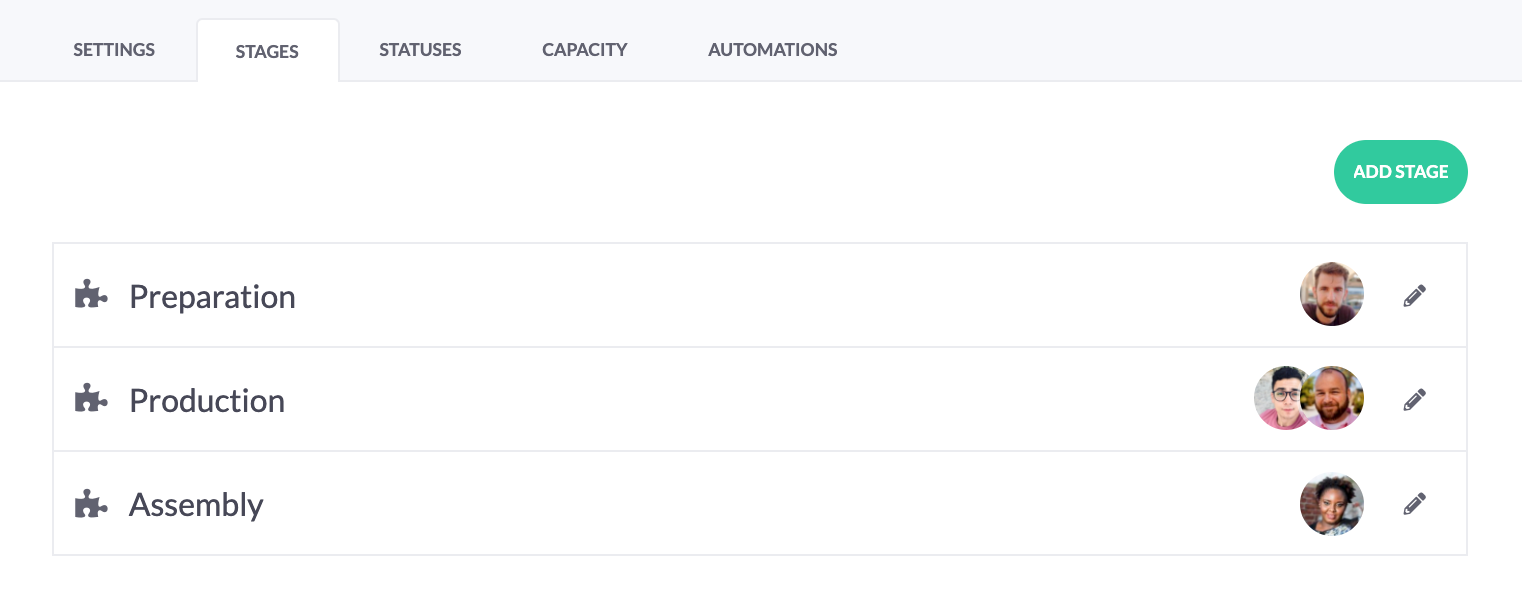
Give the stage a name and set up the stage of the Conditions, Notifications and Activities tabs.
- In the Conditions tab you set the delay (in days), plan efficiency (%) and you can set if you want to have the purchase-, sales- and production orders automatically scheduled at the relevant stage.
- In the Notifications tab you set the notifications in stock and capacity. You can choose here if you want to receive a notification for stock and capacity. You can easily tick this on the checkbox.
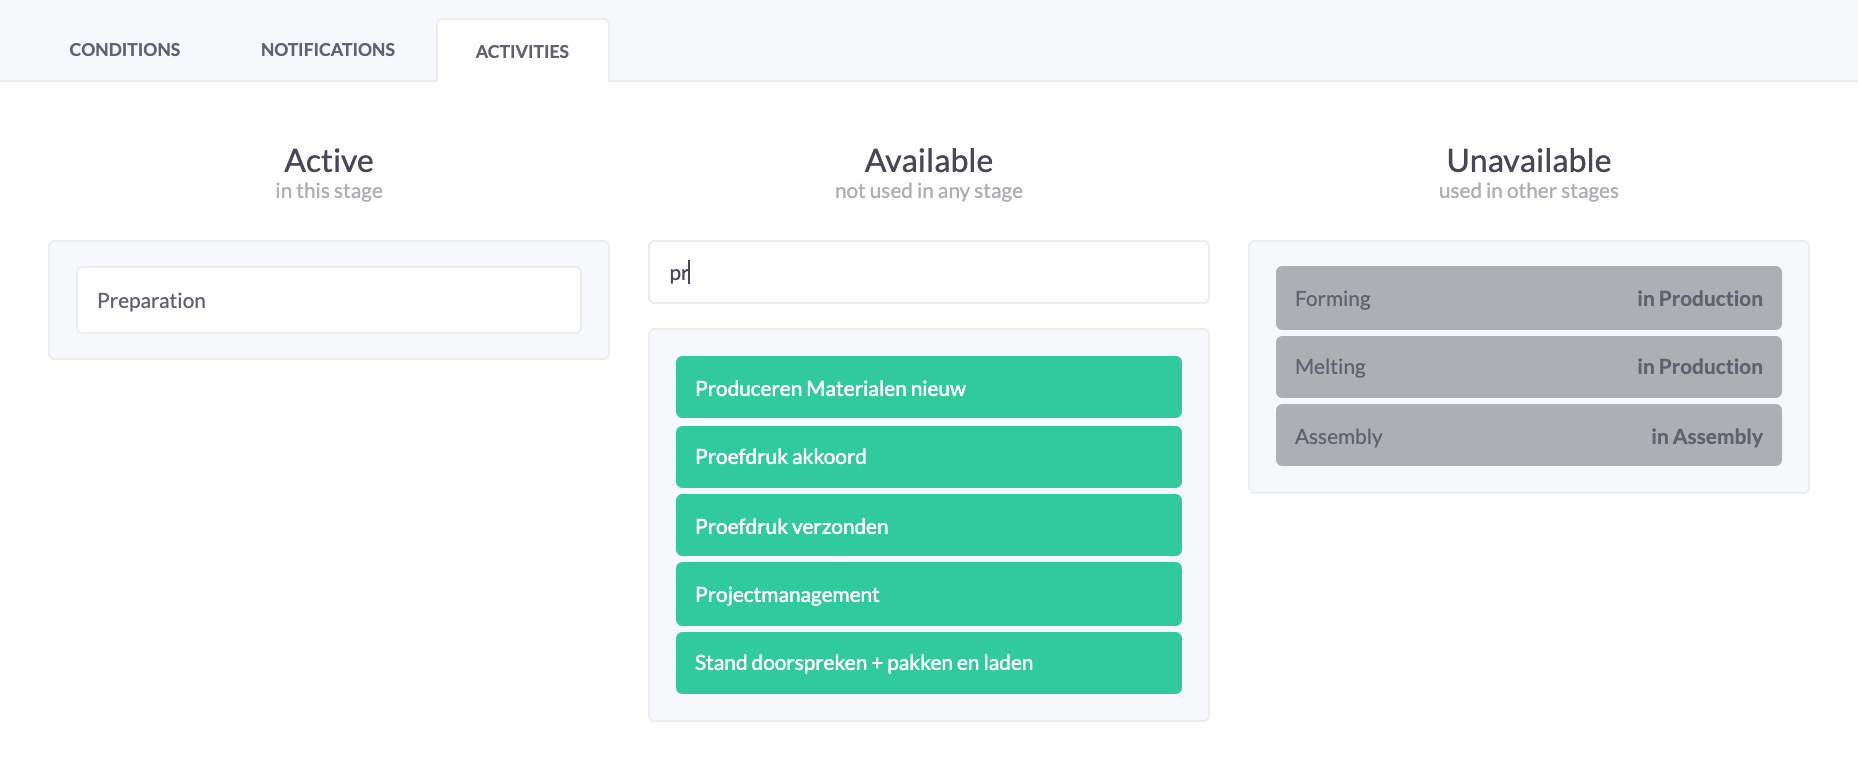
- In the Activities tab, work types are displayed which are available and which are already used in another stage and therefore not available. When the plan mode is set to activities vPlan takes into account the linked activities per stage.
It doesn't matter in which tab you work, you always have the possibility to save changes. Click on the save button at the bottom to save changes or a new stage.
 Set the statuses
In the plan board it is possible to manage statuses in the Status tab.
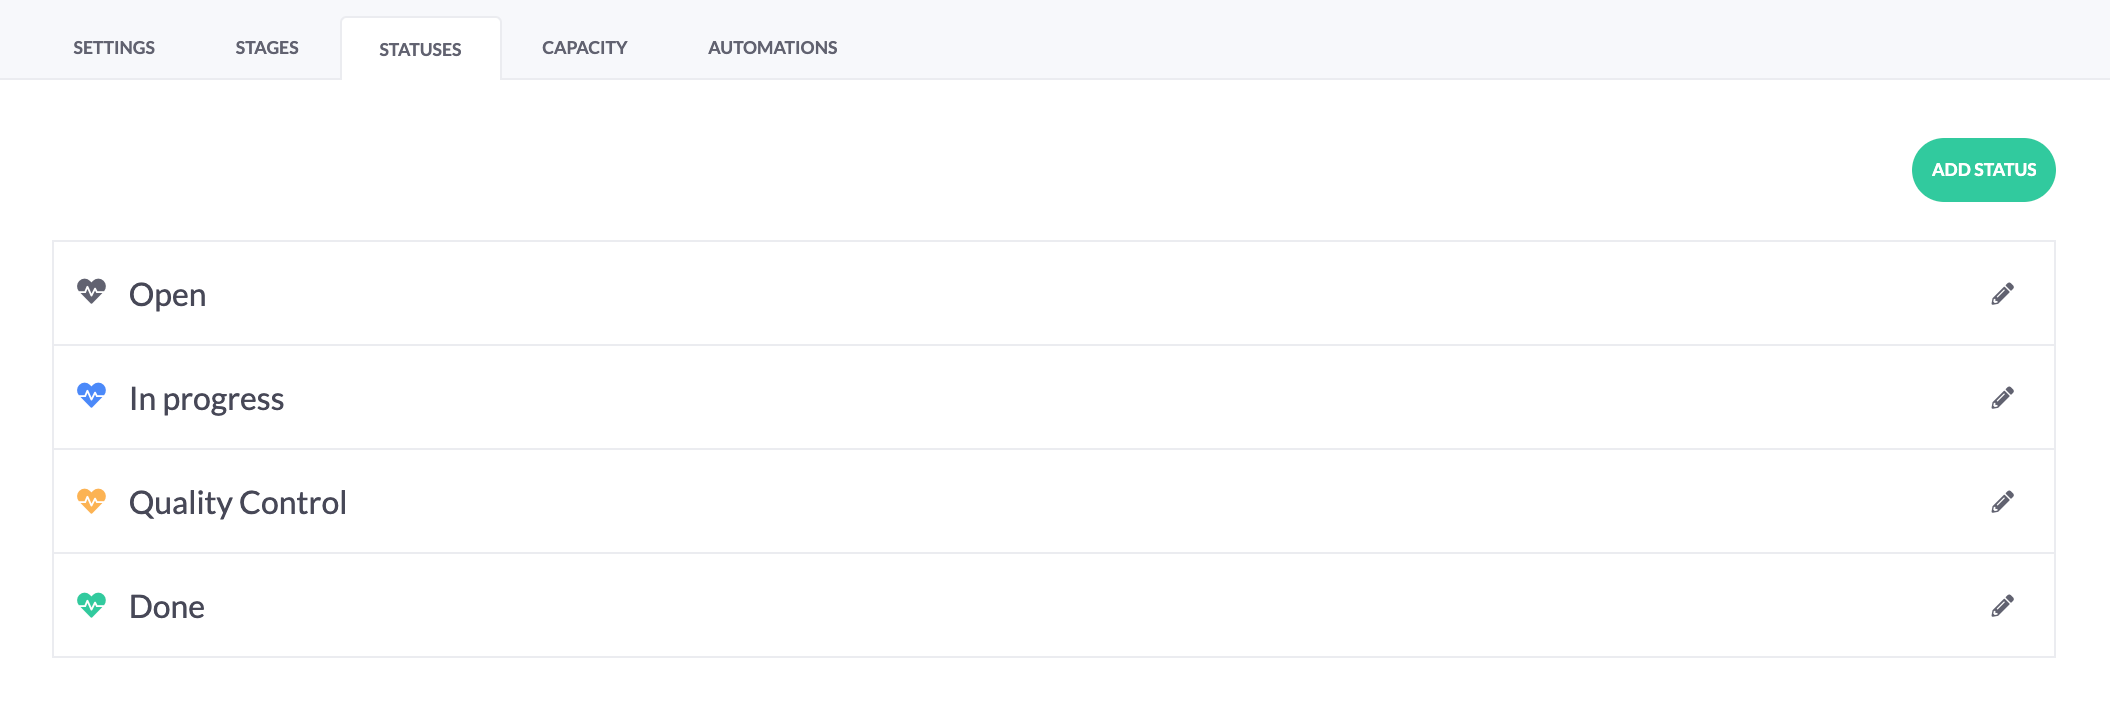
When you use vPlan for the first time, there are 3 default statuses: Open, Started and Finished. You can easily change existing statuses by changing the name or colour. A plan board must always have at least 2 statuses.
You can also add statuses yourself. You can create a status by clicking on the "Add status" button.

When you have clicked the Save button, you can use this status in your scheduling board.
 Link your resources
In the Configuration tab of your scheduling board, choose how you want to plan your resources. You have the choice between Individual or Collective capacity. With individual capacity, you can plan specific people, machines or rooms. With Collective capacity, you only determine how many resources you have, for how many hours per day and how many days and you adjust this resource pool per day if you wish.
Note: In this quick walkthrough we only explain how to set Individual capacity. If you want to know how Collective capacity works, go to Plan board: Link resources
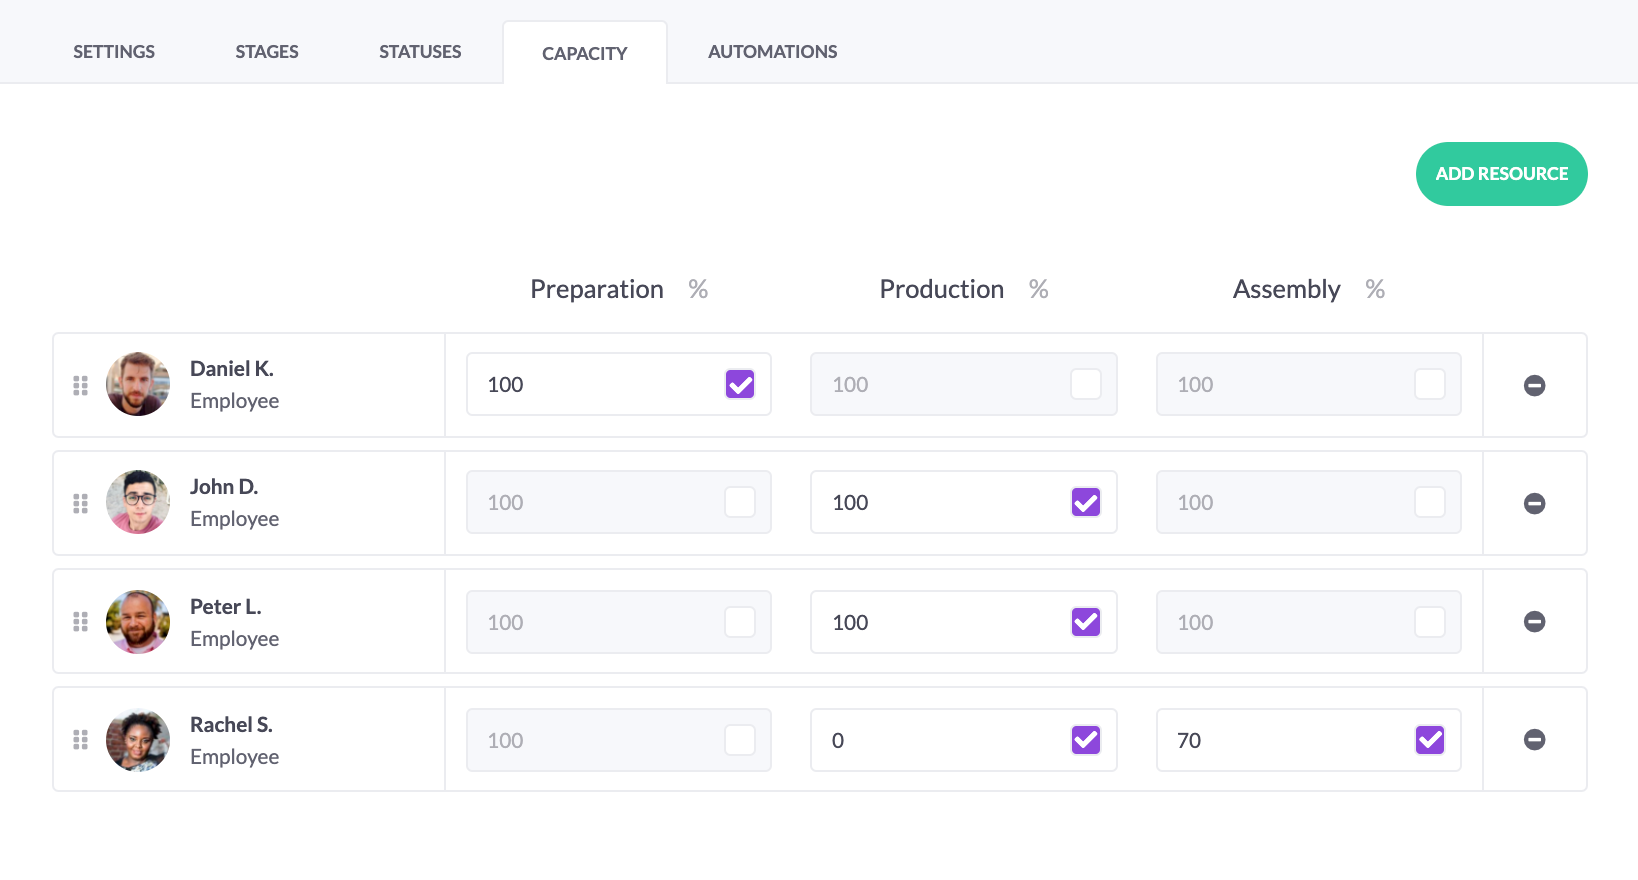
If you choose to plan specific people or machines per day (individual capacity), set the Capacity to Individual in the tab configuration of the plan board and then go to the Capacity tab.

Click on Add Resource to add new employees to the scheduling board. Search by the name of the employee. Select the correct employee(s). Click close to return. The employee(s) will be added to the scheduling board.
In the standard overview you can link employees to production stages. Check the stage and fill in the percentage of his/her availability. It is possible to divide the availability over multiple stages. When an employee is standard working on one stage (100%), but can possibly be deployed on another stage, you fill in 0% for this stage(s). It is possible to move the capacity of this employee over these stages in the planning board.
Tip: Use the drag icon ![]() to change the order of resources. the order will be changed in the plan board.
to change the order of resources. the order will be changed in the plan board.
Click the Save button at the bottom of the screen to make changes.
You have now set up the base. You can start planning, but let's not forget your colleagues. Invite them so they have access to the plan board.
Tip: The Setting up help section goes into detail about all possible configurations of your board. You can also visit the Automations section to automate your work.