

Navigation
In vPlan you can easily add new resources to your planning.
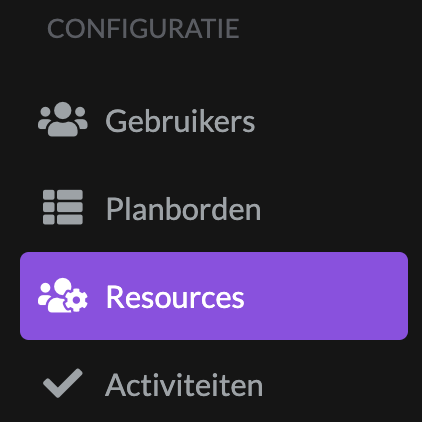
Go to the Configuration menu and click on the Resources icon, as shown in the image below.
You are now on the page where you can add resources manually. Your resources that are automated from your ERP will already be shown on this page. To add a resource manually, click on the plus sign behind resources.

Creating a resource
When you have clicked this button, you will be taken to the page where you can fill in the data. Here you can enter the: Name, description, type, start and end date of the resource and the availability per weekday in hours.
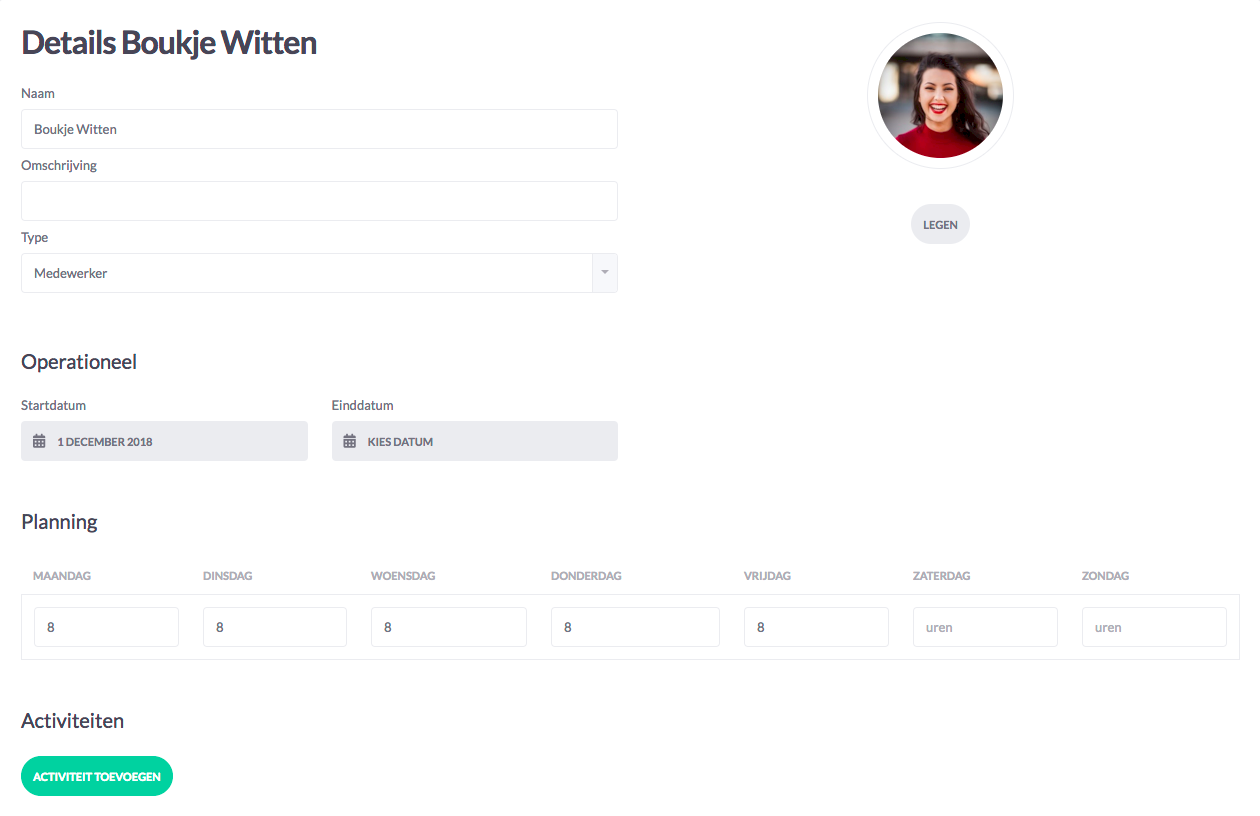
Hint: vPlan automatically creates an Avatar for each resource with the initials of the resource, based on its name. You can change the background colour of the avatar, but you can also upload a personal photo so you can easily recognise your resources on the plan board.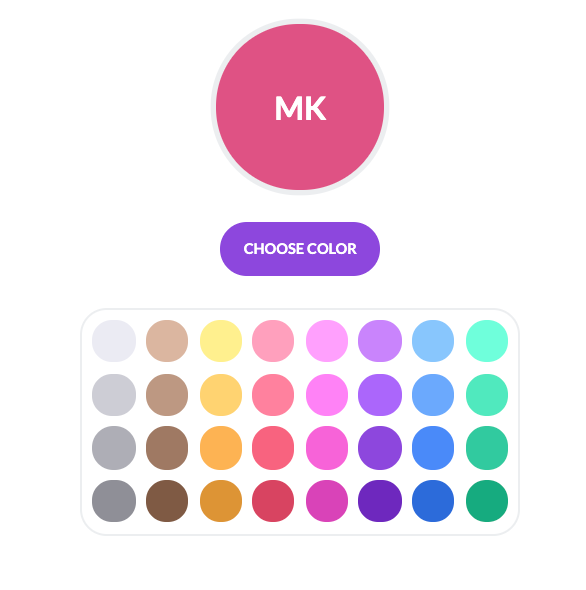
Competencies
Optionally you can choose to link specific activities to a resource. Only activities of the same type can be added and only the selected activities can be carried out by these resources, so competencies can be set up.
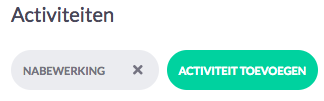
When you don't select any activities vPlan assumes that a resource can perform all activities with the same type.
Save
To add a resource click the Save button.
Other information
You have now successfully manually created a new resource, which can be found among all your other resources. You can now schedule this resource for the days that you have indicated it will be available. Read more about this here.
You can place resources in groups. In the planning board next to the resource overview, you can quickly and easily filter based on resource groups. Learn here to create groups.